How to Install Floating Box Shelves

Got yourself a set of our Harbour Housewares Floating Box Shelves?
Excited to get them installed and put to good use?
Find out how to install floating box shelves without hassle, so you can create beautiful displays in your home. Easy steps that’ll have your floating box shelves up in no time.
Step One
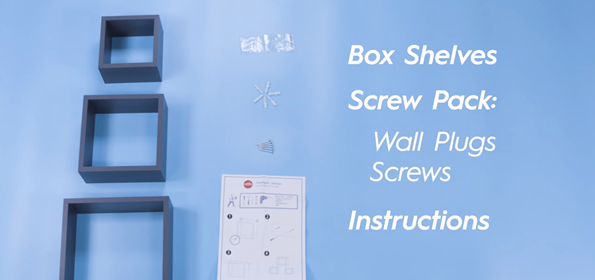
Let’s take a look what’s inside the box. You should have a set of box shelves, a pack that contains wall plugs, screws and an instruction manual.
Check you have everything you need to install floating box shelves before you begin!

Step Two
If you take a look at the back of the shelves, you will see two holes, these holes fix onto the wall screws to mount your shelf.
Step Three
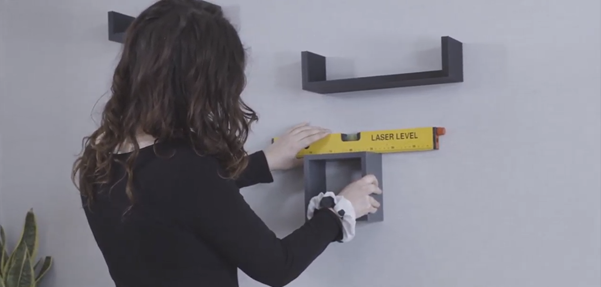
Firstly, you'll need to mark where you're going to place your shelf. Hold your shelf against the wall and use a spirit measure to make sure it’s level.

Step Four
With a pencil, mark on the wall where your wall plugs and screws are going to go. Just remember your holes will need to be drilled a few millimetres in from the edge of the frame. We recommend that you mark the shelf corners, measure the distance to the holes on each side and mark accordingly on the wall. This is where your screws will go.

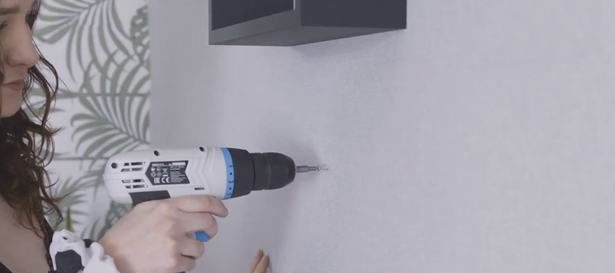
Step Seven
Using the provided screws, screw these into the wall where your wall plugs are, do not screw these all the way in as you will need the screws to hang your shelf on. You can either use a drill or a screw driver for this.


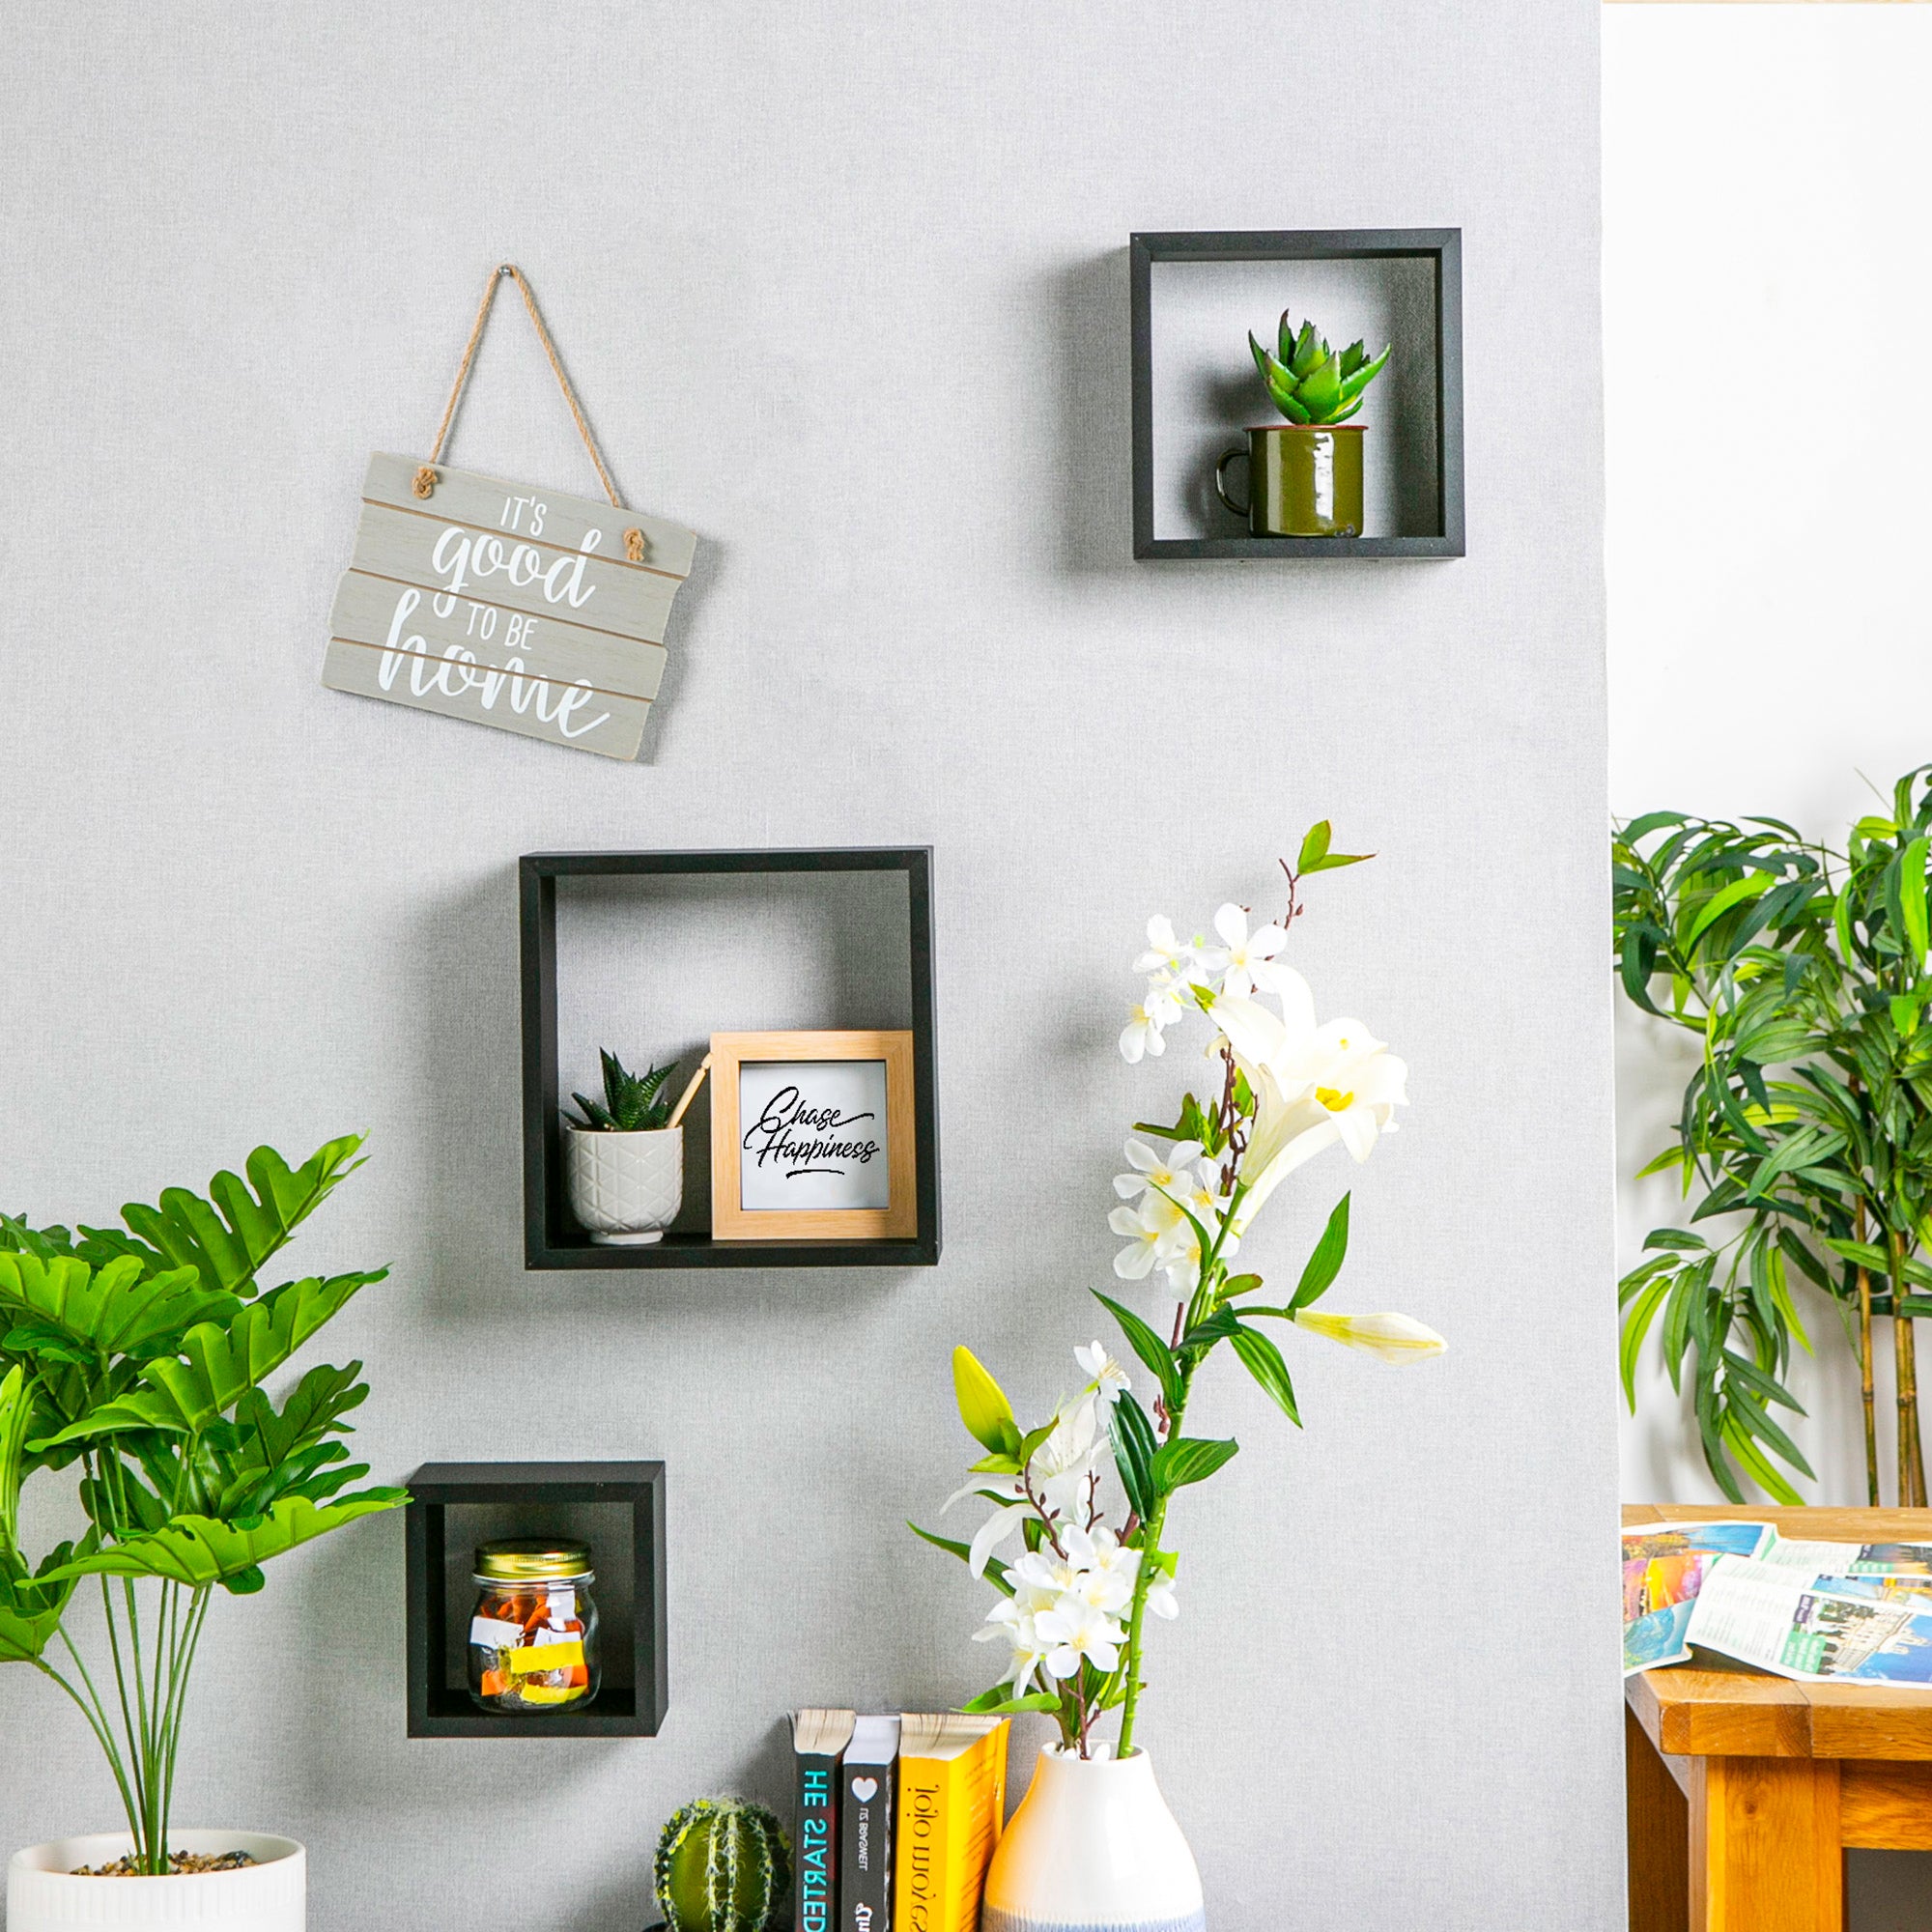
How to install floating box shelves: completed it!
Pretty straightforward right?
Now you've successfully learnt how to install floating box shelves you can sit back and enjoy your new style of organisation and décor! Before you know it, you'll be wanting a set of floating box shelves in every room, in every colour!