How to Install Floating Shelves

Just bought our Harbour Housewares Floating Shelves?
Excited to put them to good use?
How to install floating shelves made easy with our dedicated Rinkit team. We will take you through everything you need, and the simple steps to installing your floating shelves from Rinkit.com to create the perfect home showcase of your favourite photos and trinkets.
Step One
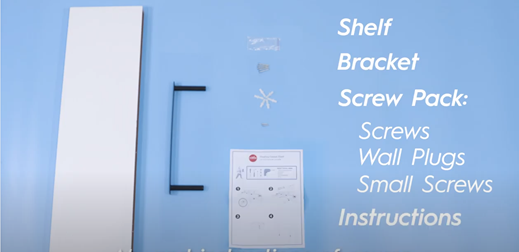
Inside the box you should have a floating shelf, a bracket, a pack that contains wall screws, wall plugs, and two smaller screws for the underside of the shelf. Ah, and instructions of course.
Check you have all these essentials for installing floating shelves before you begin!
Step Two
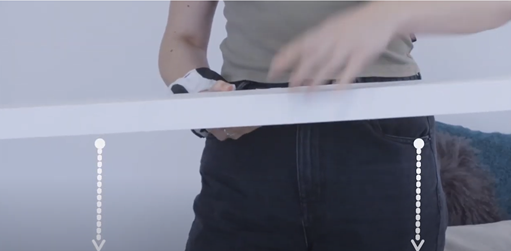
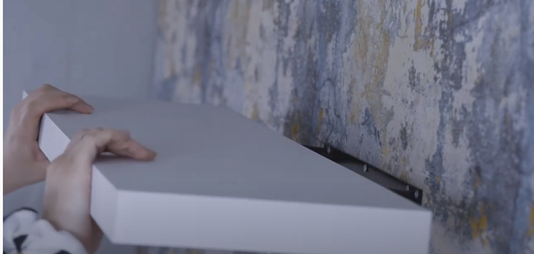
If you look at your shelf you should notice two holes on the back of the shelf, this is where you’ll attach the shelf to the bracket. You’ll also notice two holes on the underside of the shelf, make sure these holes are facing downwards when you attach your shelf.
Step Three
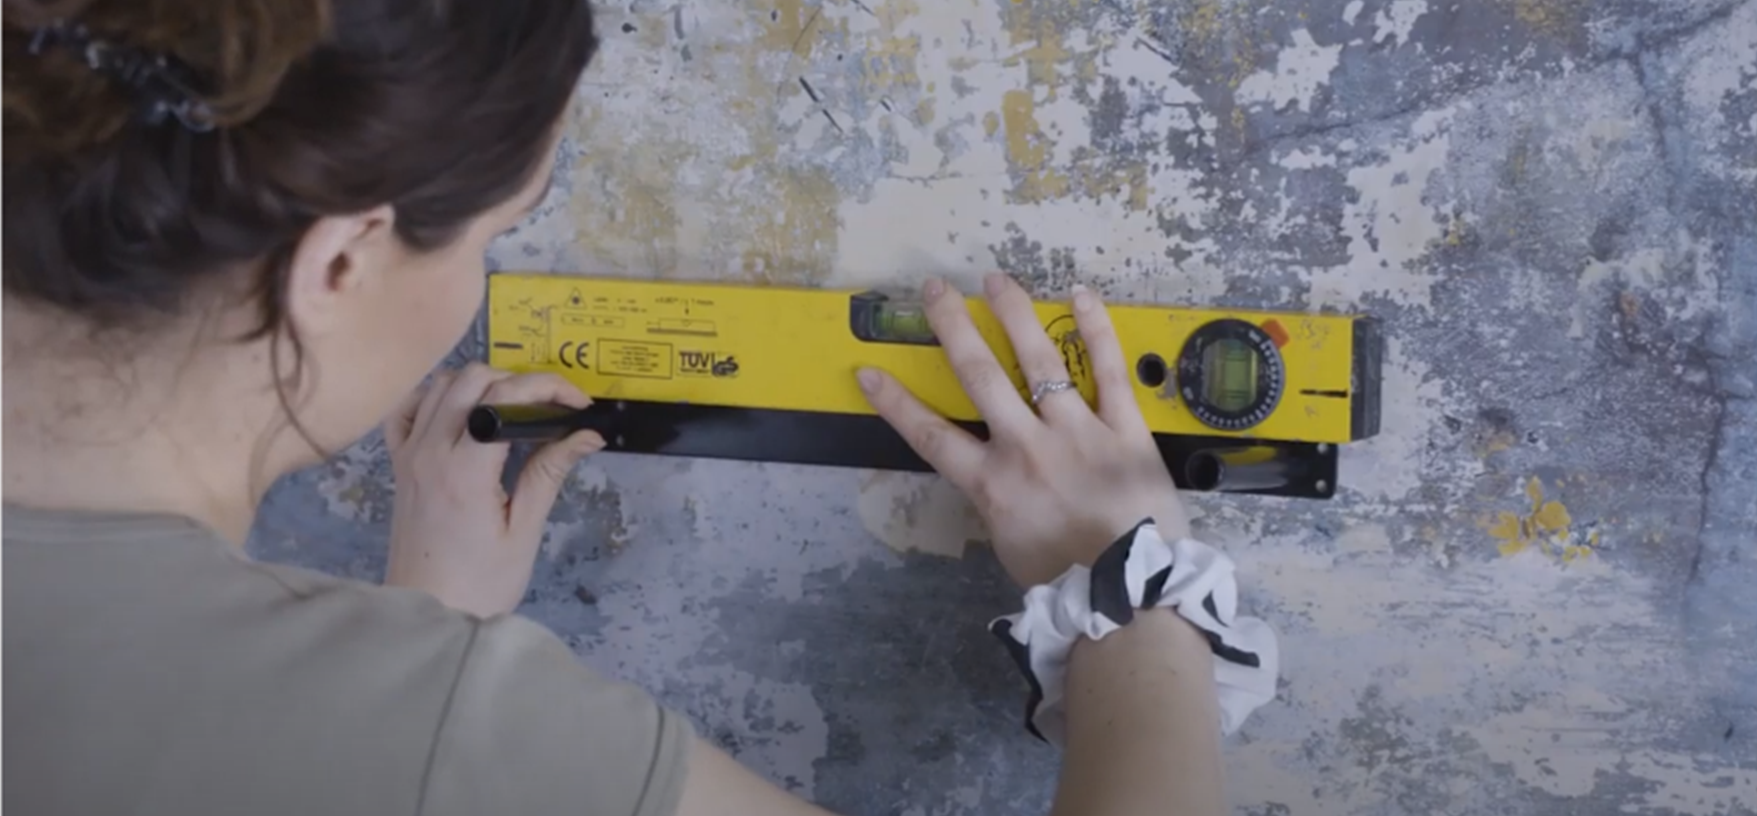
Using a spirit level, decide where your bracket is going to go. Now, ensure your bracket is level and mark on the wall where you want your wall plugs and screws to go.
Step Four
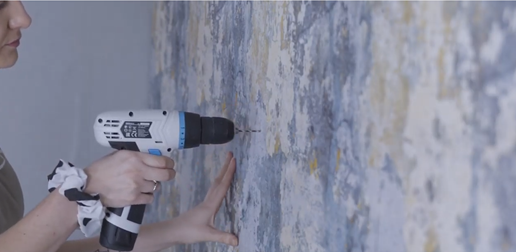
Using a drill, drill a hole into the wall where you have marked. Next, insert your wall plugs.
Step Five
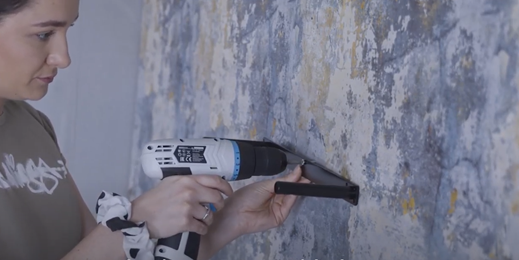
It’s now time to screw the bracket to the wall, place your bracket against the wall and using your provided screws screw in the bracket. You can use either a screwdriver or a drill for this.
Step Seven
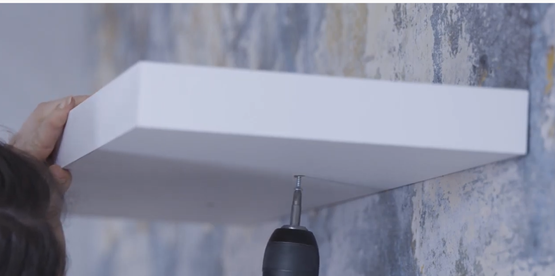
Finally you will notice two screw holes on the underside of your shelf, screw in your remaining screws to tighten the bracket to the shelf.

How to install floating shelves: completed it!
Now you're floating shelves are installed and decorated how you wish you can sit back and enjoy the organisation and décor!
Floating shelves can be used to display all sorts of things, so you really can never have too many! If you decide you can't get enough of yours, why not get some different sizes, shapes, or colours!


