How to Install a Picture Ledge

Recently bought one of our Harbour Housewares Picture Ledges?
Excited to get it installed and put to good use?
How to install a picture ledge with our dedicated Rinkit team. Follow these easy steps to have your picture ledge up and books displayed in no time. We’ll check you have everything you need and then we’ll guide you through the process for the perfect home showcase.

Step One
Let's take a look what's inside the box. You should have a picture ledge, a pack that contains wall plugs, screws, screw hole covers, and an instruction manual.
Check you have everything you need to install a picture ledge before you begin!
Step Two
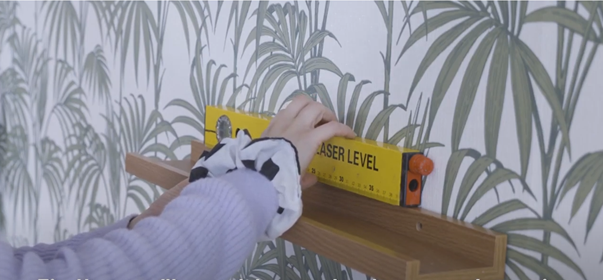
Firstly, you'll need to mark where you're going to place your picture ledge. Hold the ledge against the wall and use a spirit measure to make sure it's level. Use a pencil and the screw holes to mark on the wall where your wall plugs and screws are going to go.
Step Five
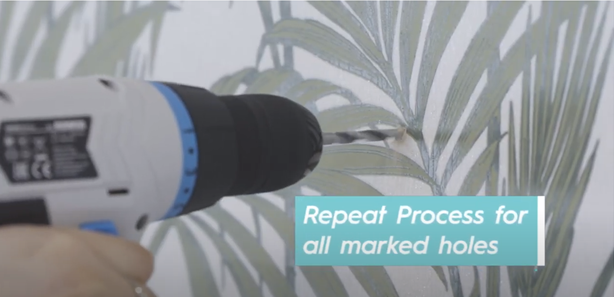
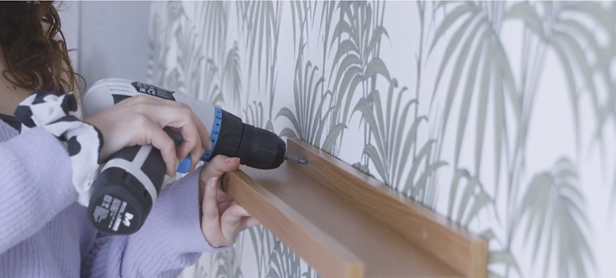
Hold your ledge in place against the wall, using the provided screws, screw the ledge into the wall where your wall plugs are. This will fix your picture ledge to the wall. You can either use a drill or a screw driver for this.
Step Six
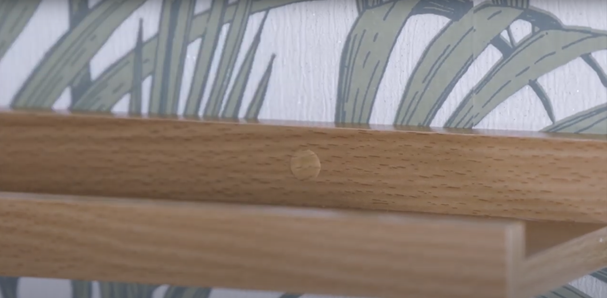
Using the provided screw hole covers, peel and stick these over the top of your screws, these will help to mask your screws.
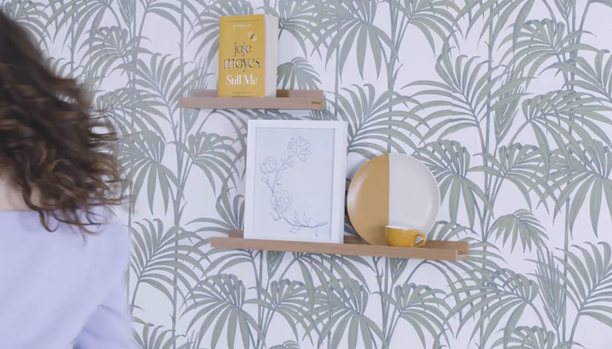
How to install a picture ledge: completed it!
Now you've learnt how to install a picture ledge and made it your own, it's time to sit back and enjoy your new level of organisation and décor!
It won't take long until you want to install a picture ledge in every room! Combine colours and sizes for truly striking effects in your home.