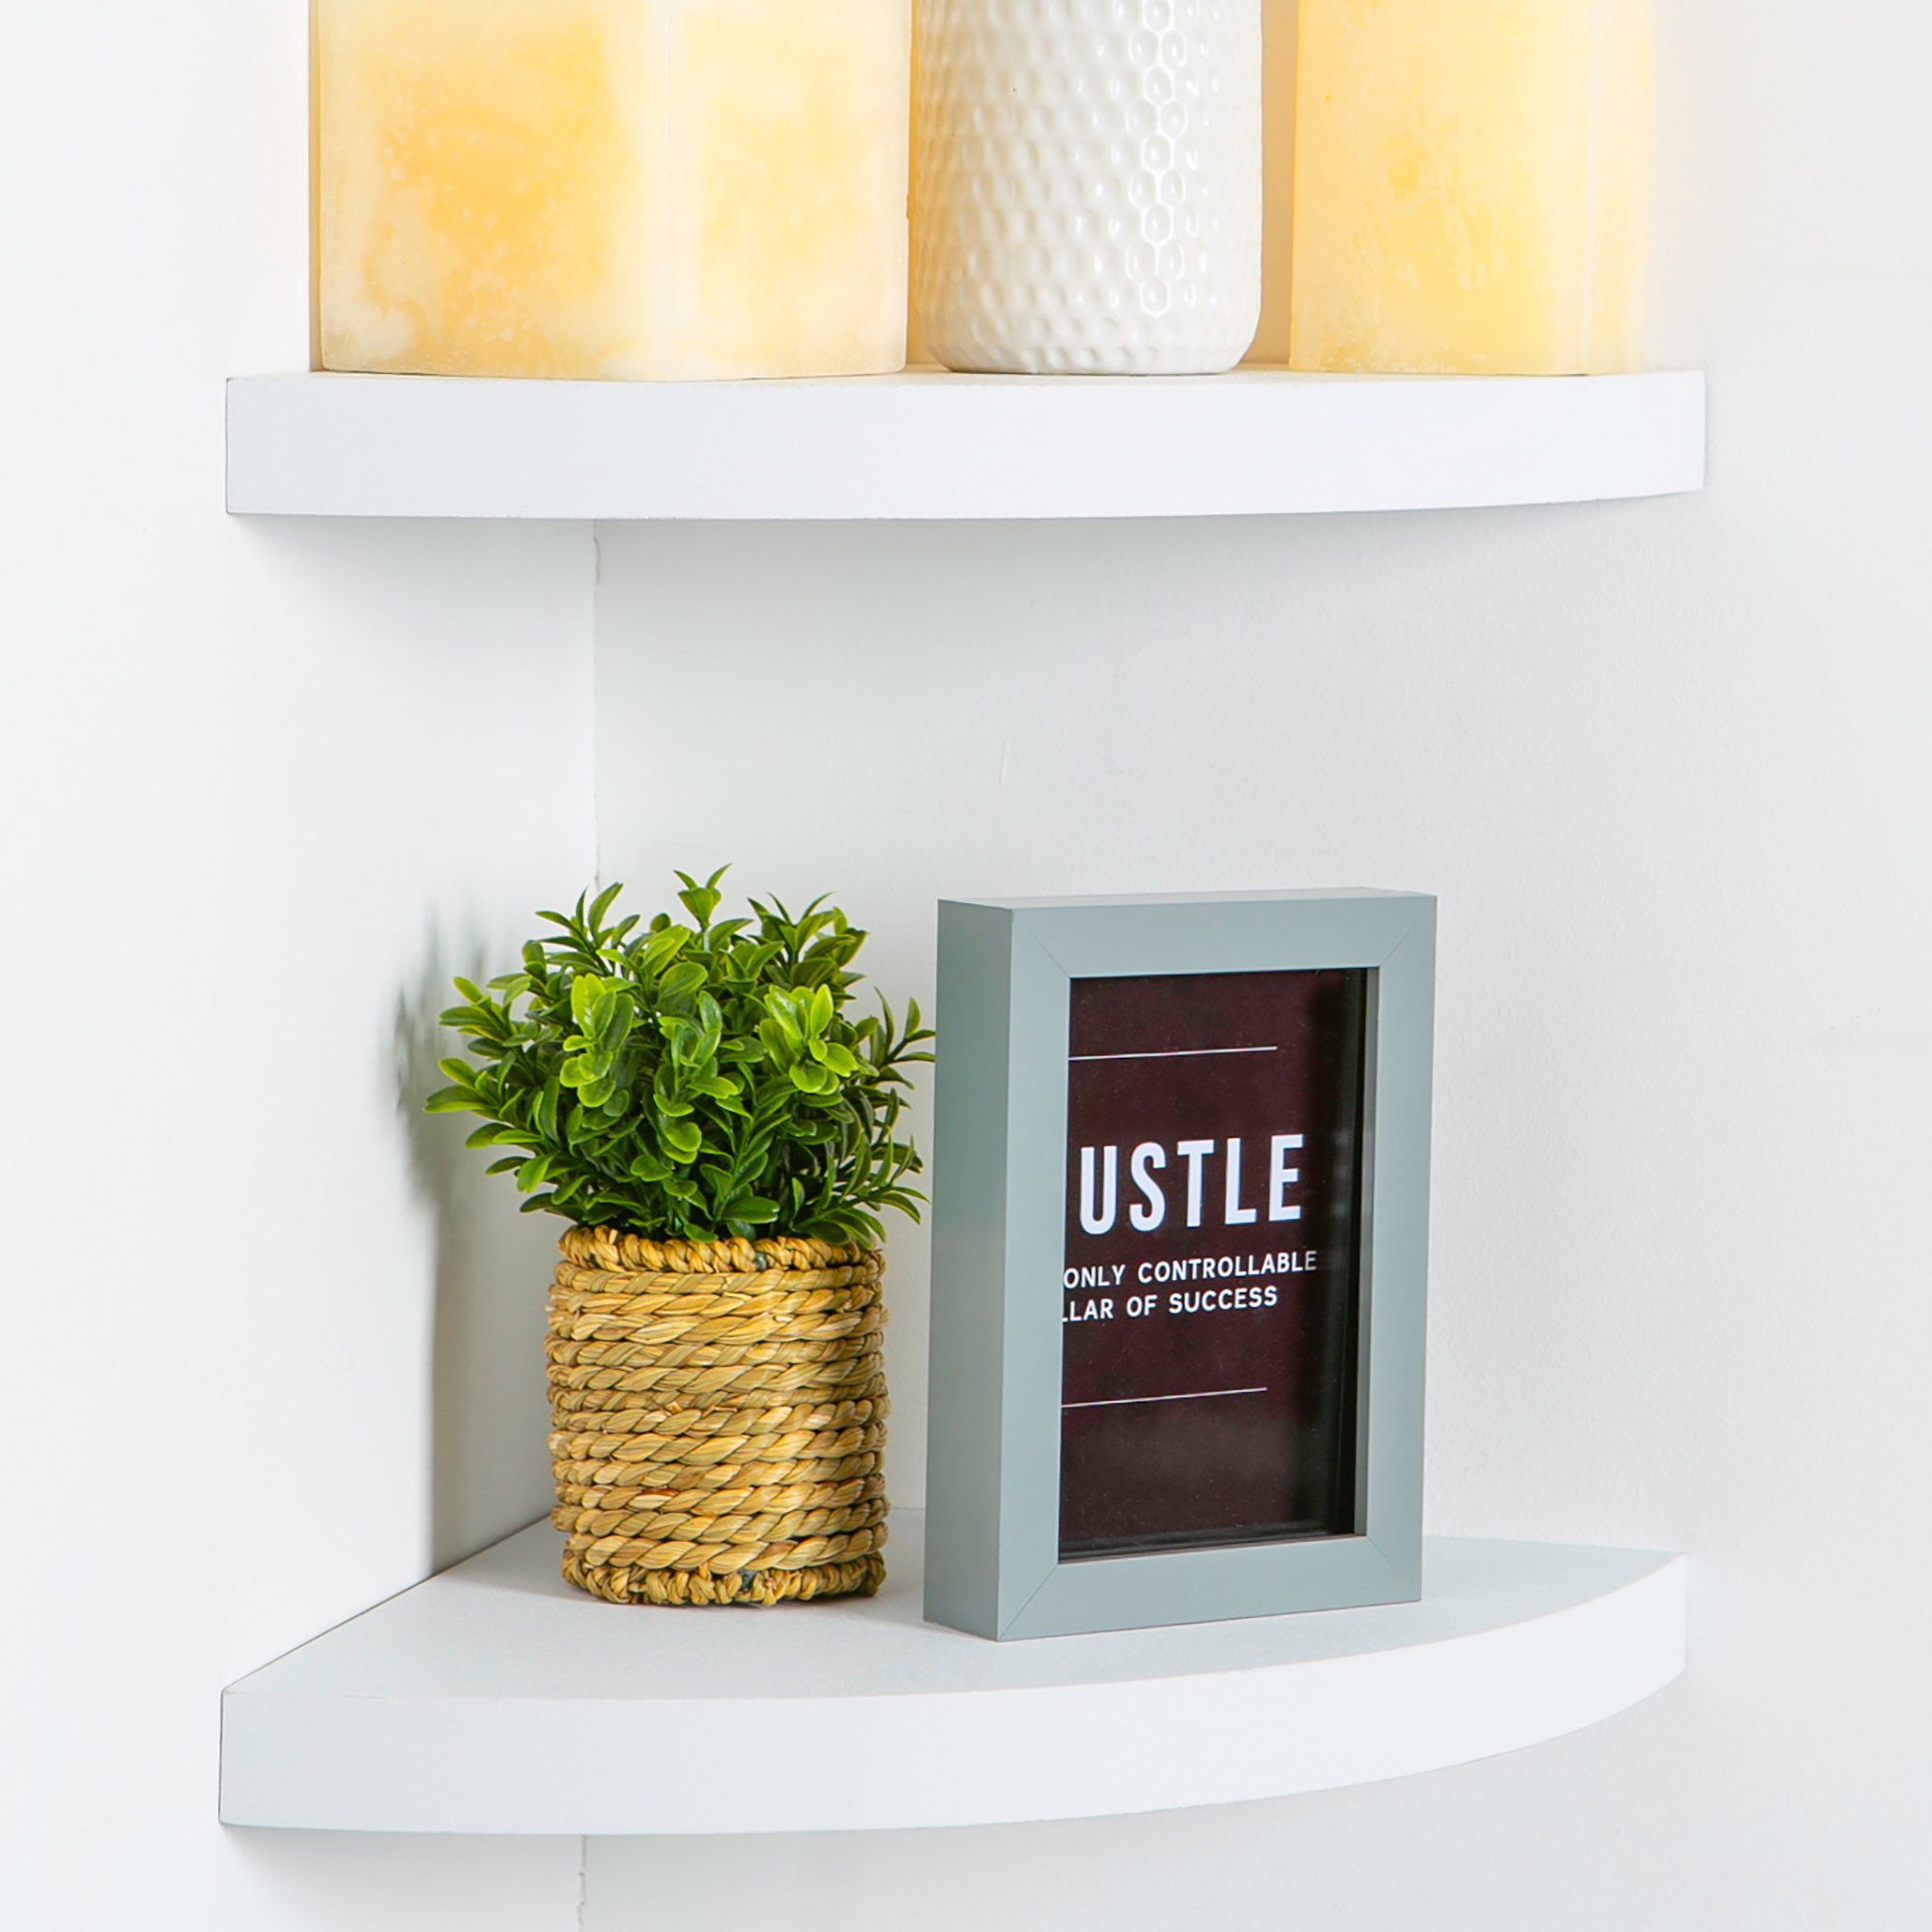
How to Install Floating Corner Shelves

Recently bought some of our Harbour Housewares Floating Corner Shelves?
Excited to get them installed and put to good use?
How to install floating corner shelves broken down into simple, easy-to-follow steps with our dedicated Rinkit team. Follow this easy video to have your floating corner shelves up in no time and your rooms looking like new!
Step One
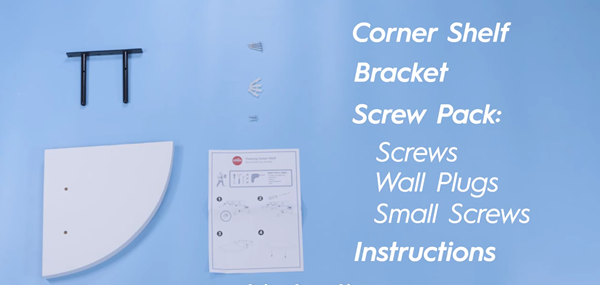
Let's take a look at what's inside the box. You should have a floating corner shelf, a bracket, a pack of screws, wall plugs and two smaller screws for the underside of the shelf, and instructions.
Check you have everything you need to install floating corner shelves before you begin!
Step Two
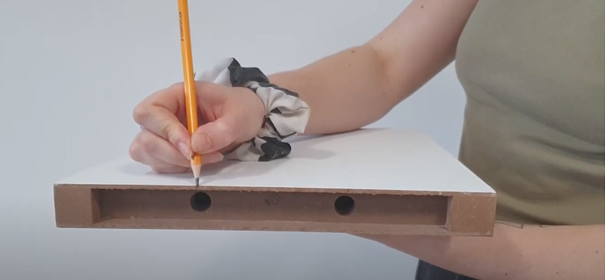
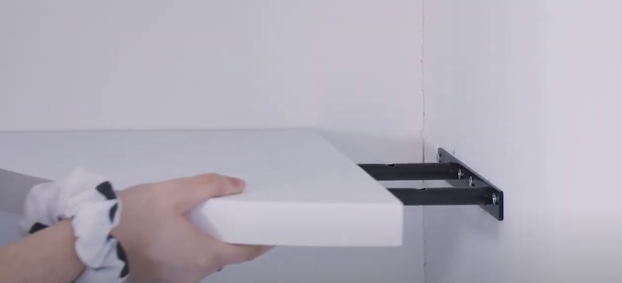
If you look at your shelf you'll notice two holes on the back of the shelf. This is where you'll attach the shelf to the bracket. Just note that you want your corner shelf to be flush against the wall. A good way to do this is to make note of where the two holes on the back of your shelf are.
Step Four
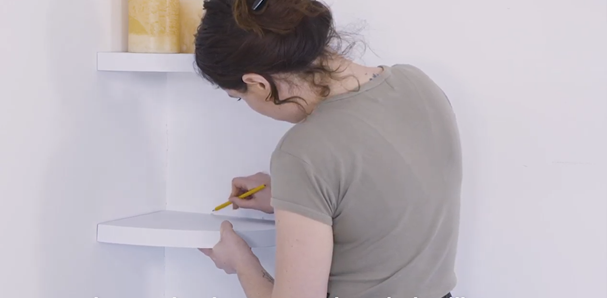
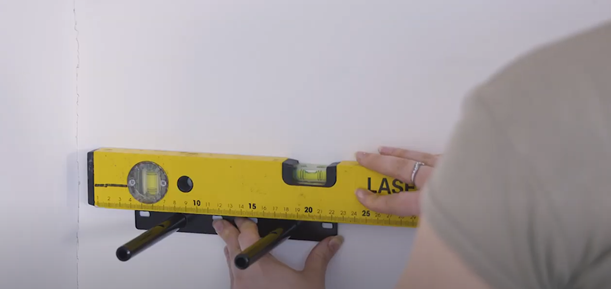
Using your spirit measure mark the place where your screws for your wall bracket are going to go.
Step Seven
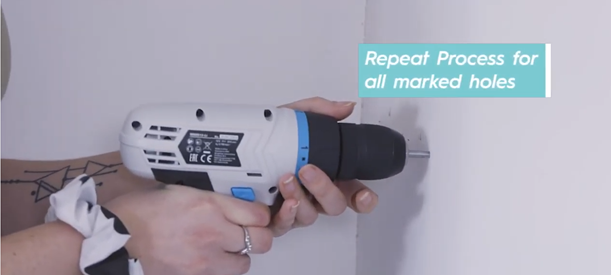
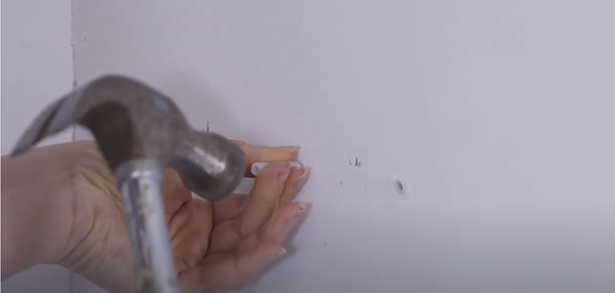
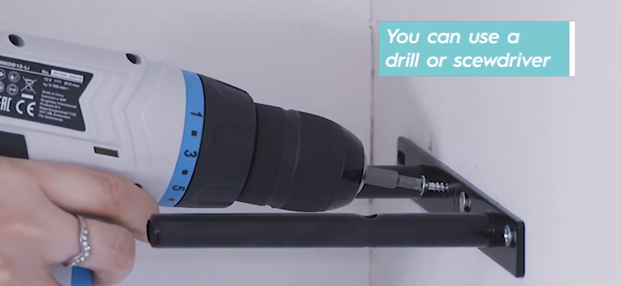
It's now time to screw the bracket to the wall. Place the bracket against the wall and use your provided screws screw in the bracket.
Step Nine
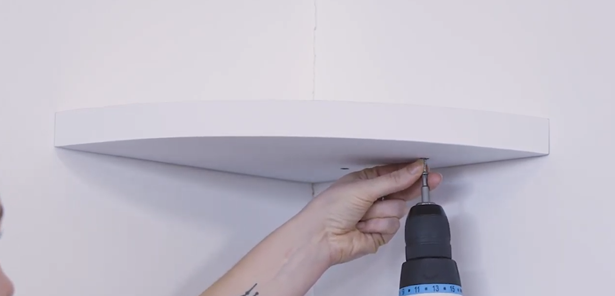
Finally you'll notice two screw holes on the underside of your shelf, screw on your remaining screws to tighten the bracket to the shelf.

How to install floating corner shelves: completed it!
Pretty simple right?
Now your floating corner shelves are installed and decorated how you like, it's only a matter of time until you want a floating corner shelf in every room! Mix up sizes and colours to create effective displays and make the most of those pesky corners!


